
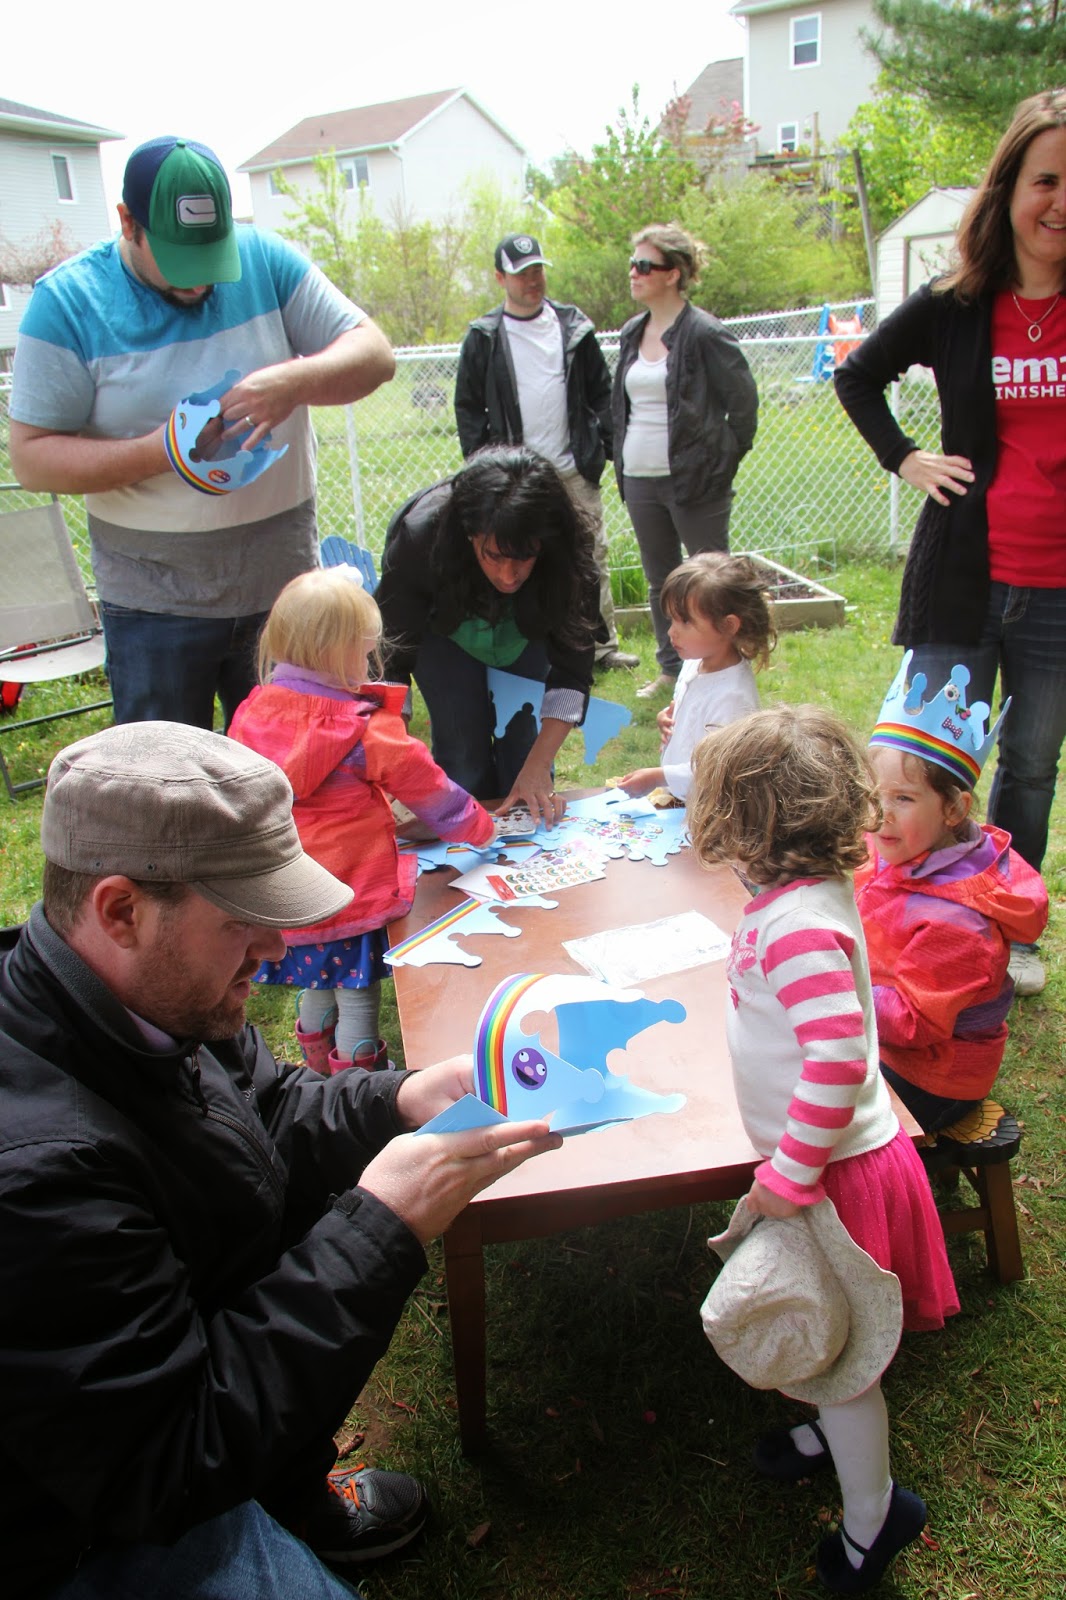
After the last blog I wrote about Blue's third birthday party, I have had a few people ask me about the specifics about how to make the character heads. There are a lot of good reasons to make a costumed character: You might have your own sports team, theatre group, childrens' event, or you might just want to do some cosplay for the next Comicon. Or, if you're like me, you might just want to blow your kid's mind once in a while.
I recommend any parent who is crafty to try this, if their child has a favourite puppet. A childhood hero comes in really handy around the house. After our party was over and the streamers came down, Blue was sitting at the table all alone making a plasticine cookie for her puppet friend, Reggie. I asked her if Reggie was going to come and eat the cookie and she sighed and said, "Well, it's not my birthday. I'll have to wait until my birthday for Reggie to come back."
My husband and I looked at each other. The Reggie costume was in the basement in a box at that very moment, and there was only one thing to do. I announced I was going to go downstairs to look for something in the freezer. A few minutes later, the doorbell rang. It was Reggie! Blue opened the door and hugged and hugged Reggie. She retrieved the cookie and Reggie ate it all up with a little sleight of hand, then waved goodbye. That was the moment when she started believing in magic. I can't wait for Reggie's next surprise appearance.

This is what I started with. For the round head I bought a large plastic ball from Walmart, and the balloon shaped head was an over sized balloon. If you have a choice, buy a ball or a balloon that is translucent or transparent. At this point my hands were constantly covered in glue so I stopped taking photos. So you'll have to rely on my crude pen drawings for the rest.

I used poster board to form a neck and put the ball on top with masking tape. If you are using an inverted balloon, tilt it slightly backwards so that the character will have a chin. Make sure that the poster board cylinder will easily fit over your head (and your glasses if you need them.) Cut the neck longer than you will need it to be; you will trim it later.

Tips: Fold the a newspaper broadsheet in half and rip from crease to edge for even strips. Look for full-page ads so you can easily identify which layer you are covering. If you have used a clear ball or balloon, you can peek inside through the neck to see where light is coming through.

You should do two or three layers each day for a total of about 6-9 layers. The top of the head should be rock hard, but the sides, when dry, should still be slightly flexible when pressed hard. You will need to be able to cut into it easily with scissors or puncture it with pins.

When it is done and fully dry, pop the balloon or ball and discard. Draw the mouth with a marker. When it looks about right, decide the depth of the "lip" and make the mouth that much larger. Cut it out with an Exacto or utility knife.

Next it's time to give the mouth some depth. Take a piece of poster board that is larger than the mouth and fold it in half. Put it inside the mouth.

With a marker (I know... I drew a pencil), trace around the outside of the mouth at the point where the lip meets the paper.

You'll have a shape that is like an eye or a pointy football. It's proper term is vesica piscis or mandorla, if you like using fancy big words. Mark where the top and bottom are.

 Draw a small mouth inside the big one, making the resulting shape as wide as you want the inner "lip depth" to be. Then draw another one around the outside at least a couple inches larger on all sides.

Cut triangles into the outer ring. Then cut the inner part of the mouth out completely. You will end up with an outline of a mouth that is surrounded by tabs.
 Fold the lips and tape it to the inside of the mouth with masking tape. Then apply lots more paper mache down the face and around the lip. For this you will want to use glue that is less watered down, because if the poster board gets too wet it could warp. If your character has any other structural facial features, apply them with paper mache now.
When dry, drill some air holes on the top, a few inches apart. Cut the mouth corners at the folds.

If you want, cut a cleft in the back of the neck so that it can expand if a larger-headed person wants to wear the costume.
Are you still with me? Good. Now it gets difficult.
You will need to find some fabric to cover your head. The stretchier or furrier it is, the easier this will be. The fabric will need to conform to the shape of your head without creasing. If your head is perfectly geometric and flawless and you are a mathematician, you could potentially calculate the exact pieces. This was not an option for me.
The first thing you need to do is draw straight lines from the top pole of your head all the way down to the neck. Use a tape measure to keep the lines straight. Check with the fabric to make sure it can cover each section without creasing. Put two of the lines right beside the corners of the mouth.You will need to use separate pieces of cloth for the top and bottom of the section with the mouth, and have lots of overlap in the middle. Then cut out cloth shapes that approximately match up with the shapes you drew on the head, but with very wide seam allowances.

Next, pin the fabric RIGHT-SIDE-OUT onto your head until it is tight and fits just right. Run the pin parallel to the paper mache. Insert pins through the paper mache if you need to position it around the mouth. If you have done much sewing it will feel all backwards to you. But It's important to do this right side out the first time so that you know it will align perfectly.
When you are sure it fits perfectly, you need to flip the seams so that they are on the inside. You can do this using my triple-pin method. Unpin one seam down the back and remove the whole thing. Then, one or two seams at a time, you will do the following:

On the WRONG side of your fabric, carefully tug the pinned seam apart until you can see where the pin is holding the two pieces of fabric together. Then as close as you can, put two pins parallel to the first pin. Do this all the way down and then remove the pins on the RIGHT side.

Flip the seam the other way so that it goes toward the inside. Align the two pins perfectly, remove one, and put the other one through both pieces of fabric.

Using the remaining pins as a guide, sew the pieces together and remove the pins as you go along. Leave the seam at the back open except for the top third or so. As it begins to come together, periodically check the fabric by placing it over the paper head. Remember that it will look a very lumpy until the final step when you trim the seams.

Cut a long strip to use for the neck. You don't need to use the triple pin method, just fold the top over and reach underneath to apply the pins. This step is relatively easy. Be sure to leave the back open in alignment with the back seam that is open. It doesn't matter if the neck fabric is taut with the paper mache. It just hangs over top.

Trim all the seams to about a half inch. Clip them by cutting small triangles every inch, then press them open.

Place the cloth back on the head, ensuring that all the seams are open. Pull the back taut and pin it, then carefully hand stitch it closed.

Trim the mouth a bit and insert the top and bottom pieces into the crack on each side of the mouth. Starting in the middle, use a hot glue gun to wrap the fabric around the inside of the lip. Pull the slack toward the cracks on the sides of the mouth, then glue.

Try the head on. Have someone mark where the shoulders are and cut shoulder half-circles out of the paper part of the head. This will keep your head from being too loose. If needed, cut the fabric as well.

If you are adding ears, cut an ear shape out of a soft foam sheet. Trace around it with fabric, adding for seams and foam thickness. Then hand stitch to attach. You can add other features any number of ways, but I prefer applique.

If you want to make the same eyes I made, cut a craft foam ball in half and paint them white. For the pupil, use blob of black polymer clay to cover the head of a screw. Make a hole in the bottom of a can and insert the screw (it should be loosely place in the hole, not screwed in). Form the clay into a dome shape, bake, and varnish when cooled. Screw the pupil into the foam eye. Attach the eye to the head with hot glue.
Finally, you will need to cover the inside of your character's mouth. Choose a black fabric that is breathable, see-through up close but opaque from far away. (Remember that it will be dark inside your head.) Apply the cloth to the inside of the head with hot glue or fabric glue; top lip first.
You are done! Put the mascot head on, and go about your business as usual.


